
How to Set Up a Cash Register Step by Step with SDLPOS Guide
Are you wondering how to set up a cash register for your small business or retail store? Getting your cash register up and running smoothly is critical for seamless transactions and happy customers.
As a trusted name in POS hardware, SDLPOS has helped thousands of businesses streamline their operations with reliable, easy-to-install systems. Drawing from our expertise, we’ve crafted this guide to walk you through every step of the process.
In this post, you’ll discover a clear, step-by-step approach to set up your cash register, from unboxing to processing payments, plus tips to avoid common pitfalls. Whether you’re a first-time owner or upgrading your POS system, this guide has you covered.
Let’s get started!
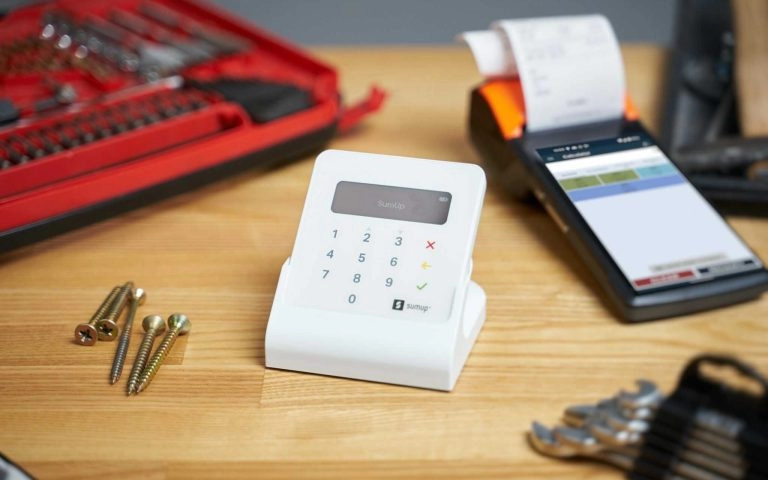
Your Cash Register Components and Setup Essentials
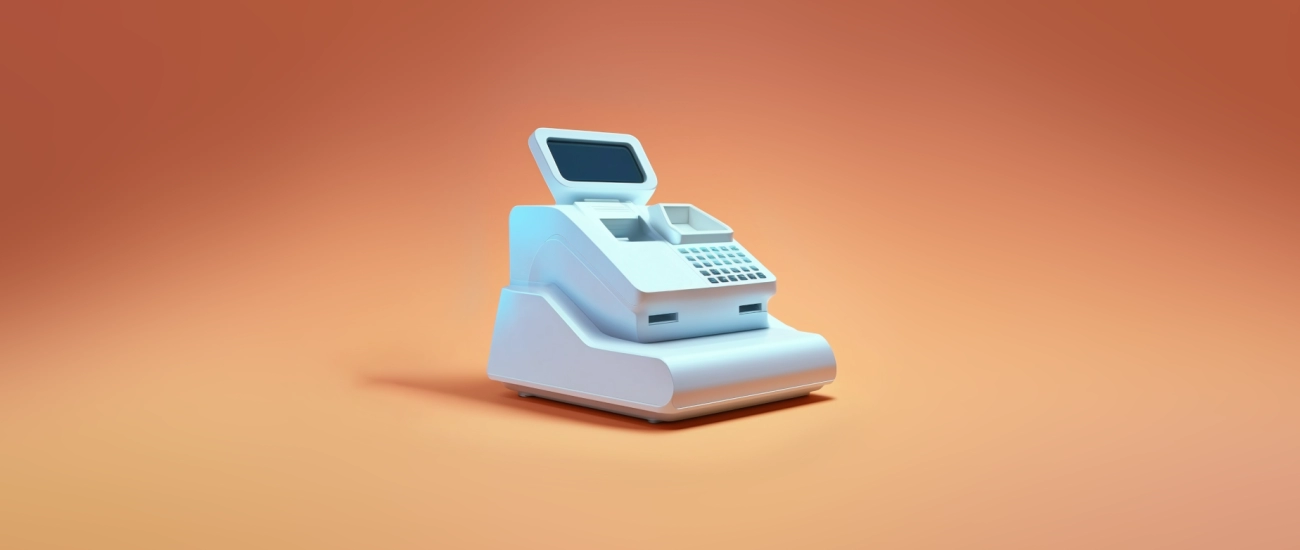
When you’re wondering how to set up a cash register, the first step is knowing the key parts you’ll be working with. A typical cash register system includes several important components:
- Register drawer: The secure compartment for storing cash and coins.
- Receipt printer: Prints sales receipts for customers and records.
- Barcode scanner: Speeds up product entry by scanning item codes.
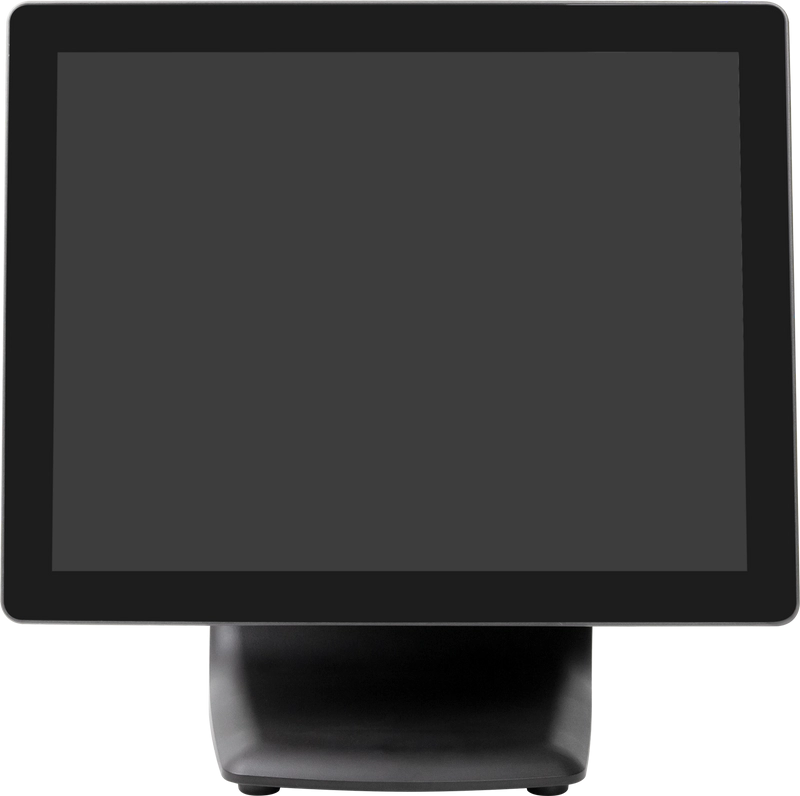
- Display screen: Shows transaction details to the cashier and sometimes customers.
Each part plays a crucial role in smooth business operations and accuracy at checkout.
Importance of Compatible Hardware
Using hardware that works seamlessly together is critical. Mismatched or incompatible devices can cause frequent errors or slow down your checkout process, reducing overall efficiency.
That’s why I recommend considering SDLPOS products for your setup. Their hardware lineup has been designed to integrate well and simplify installation so you can focus on running your business. Whether you’re looking for a cash drawer with electronic features or a reliable receipt printer, SDLPOS systems prioritize compatibility and quality.
Basic Safety and Installation Precautions
Before you start assembling your cash register, keep these safety tips in mind:
- Unplug power sources while connecting components to avoid electrical shocks.
- Check cords and hardware for damage before use to prevent hardware failure or hazards.
- Place your cash register on a stable surface to avoid falls or damage during use.
- Avoid placing near liquids or food to prevent spills that could damage electronics.
Taking basic precautions will protect your equipment and provide you a long-lasting setup.
For a deeper understanding of how cash registers function and their benefits, check out how does cash register work. This resource pairs well with your setup journey and highlights how integrated hardware and software work hand-in-hand.
In the next steps, we will get hands-on with physical installation and software setup to get your cash register ready for business.
Step 1 Physical Installation and Assembly of Your Cash Register
Unboxing and Checking All Components
When you first get your cash register, start by unboxing carefully. Make sure you have every part listed in the manual: the cash drawer, receipt printer, barcode scanner, display, and power supply. Check for any visible damage and confirm nothing’s missing before moving on. This is crucial to avoid delays during setup.
Connecting Cash Drawer Receipt Printer Barcode Scanner and Power Supply
Next, it’s time to connect everything. Here’s what you need to do:
- Attach the cash drawer to the receipt printer or the register itself using the provided cable. This lets the drawer open automatically when a transaction finishes.
- Connect the receipt printer via USB or Ethernet — whatever your model supports.
- Plug in the barcode scanner, usually via USB, ensuring it’s recognized by your system.
- Finally, connect the power supply for each device. Make sure all cords are secure and placed safely to avoid tripping hazards.
Always refer to your hardware’s instruction manual. If you’re using SDLPOS products, their setup guides are straightforward with clear connection steps.
Placing the Cash Register for Business Operations
Location matters. Pick a spot that’s:
- Easily accessible to staff but away from heavy foot traffic to avoid accidental unplugging.
- Near a power outlet and network connection.
- Positioned so the customer can clearly see the display and receipt area.
- On a stable, flat surface for smooth operation of the cash drawer and scanner.
Taking time here ensures smooth daily operation and keeps your setup running longer without hardware strain.
By following these steps, your cash register installation will be solid, giving you a dependable setup to start configuring your POS software and payment methods.
Step 2 Software Installation and Initial Configuration for Cash Register Setup

After you’ve connected your cash register hardware, the next big step is installing and setting up your POS software. Whether you’re working with proprietary software that came with your system or a third-party POS solution, this process is key to getting your cash register fully operational.
Installing POS Software
- Choose the right software: Most cash registers work best with specific software, so start by installing the one that’s compatible with your hardware. Popular options include SDLPOS products, known for seamless integration with cash drawers, receipt printers, and barcode scanners.
- Follow installation prompts: Run the installer and follow all steps. This includes accepting license agreements and choosing installation directories.
- Keep your software updated: Always install the latest version to ensure security and performance improvements.
Connecting Hardware to the Software
Once the software is installed, it needs to recognize the connected hardware:
- Link your cash drawer so it opens automatically during checkout.
- Configure your receipt printer within the software settings. Make sure the layout matches your paper size.
- Set up the barcode scanner for smooth scanning. Test barcode recognition to avoid slowing down transactions.
Configuring Register Basics
This step is about tailoring the system to your business specifics:
- Enter store information: Add your business name, address, and contact details for receipts and records.
- Set currency preferences: Choose US Dollars (USD) or another local currency to ensure prices and receipts display correctly.
- Define tax rates: Input your state and local tax rates. This keeps your sales tax accurate and compliant with regulations.
- Customize receipt details: Add return policies or store messages as needed for customer clarity.
By carefully following these steps in your cash register software installation and configuration, you’ll create a smooth-running system tailored to your business’s everyday needs. For more detailed tips on using your cash register effectively, check out how to use the cash register.
Step 3 Setting Up Payment Methods for Your Cash Register

Setting up payment methods is a critical part of your cash register setup guide. To serve your customers smoothly, you need to configure how your register handles cash, credit, and debit card payments.
Configure Cash Payments
Start by ensuring your cash drawer is properly connected and set to open when a cash transaction completes. You can usually enable this in your POS software settings. Make sure the cash drawer opens seamlessly to avoid delays during busy hours.
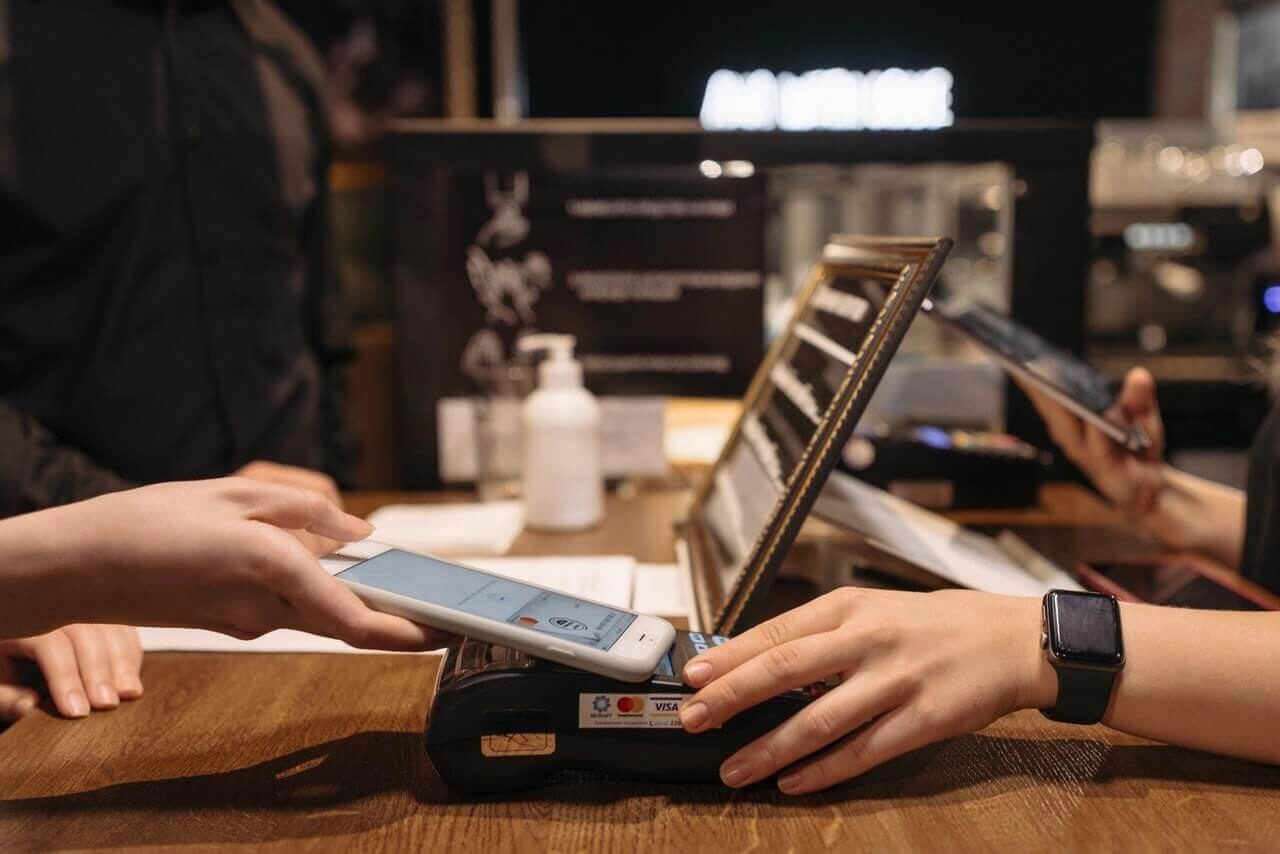
Setup Credit and Debit Card Processing
Most businesses rely heavily on card payments. To handle this:
- Integrate your cash register with popular payment terminals like Square, Clover, or PayPal Here. These terminals connect easily to your POS system, enabling quick, secure card processing.
- You’ll often need to install drivers or software to link your payment terminal with your cash register software. Check compatibility to avoid issues.
- Configure settings for tap, chip, and swipe transactions based on your terminal’s capabilities.
Connect with Payment Gateways
If you use online or mobile payment options, setting up integration with payment gateways (such as Stripe, Authorize.Net, or PayPal) is important. This allows you to process card payments smoothly and keep all sales data synchronized.
- Input your merchant account credentials into your POS software.
- Test the connection to confirm transactions flow securely.
Test Payment Transactions for Accuracy
Before you go live:
- Run several test transactions using cash, credit, and debit cards.
- Confirm the cash drawer opens correctly.
- Ensure receipts print with accurate payment details.
- Verify the transaction records inside the software match your test sales.
Testing helps you catch issues early, minimizing interruptions during real business hours.
Setting up payment methods properly guarantees fast, reliable checkout—one of the keys to keeping customers happy and your business running smoothly. If you run into trouble, SDLPOS products often come with solid support to guide you through payment setup and troubleshooting.
Step 4 Customizing Your Cash Register Settings for Smooth Operations
Once your cash register hardware and basic software setup are ready, the next crucial step is customizing settings to match your business needs. This ensures smooth day-to-day sales, accurate inventory tracking, and proper staff control. Here’s a straightforward breakdown to get the most out of your system.
Create Product Categories and Add Inventory
Start by organizing your products into clear categories. This makes checkout faster and keeps inventory manageable.
- Group similar items together, such as beverages, clothing, or electronics.
- Add each product’s name, SKU, price, and tax status.
- Update quantities so your register reflects your real stock.
- Use barcode assignments if your cash register supports a barcode scanner for quick scanning.
Doing this upfront helps avoid mistakes and speeds up transactions during busy hours.
Set Up User Permissions and Staff Passwords
Security and accountability are key, especially if multiple employees handle sales.
- Assign each staff member a unique login or password.
- Set permissions based on role: for example, cashiers can process sales but not access reports or refunds.
- Limit access to voids, discounts, and sensitive financial info.
- This keeps your sales data secure and helps track individual performance.
Configure Receipt Templates and Printing Options
Your receipt is part of your brand and customer experience. Customizing its layout and info is essential.
- Add your business name, logo, and contact details on receipts.
- Include helpful info like return policies, loyalty points, or promotional messages.
- Choose what sales data to print—items, taxes, discounts, payment method.
- Set paper size and printing preferences based on your receipt printer capabilities.
Proper receipt setup ensures clear, professional communication with customers and smooth returns or exchanges.
By taking time to customize your cash register settings, you improve accuracy, security, and customer satisfaction. This step sets a solid foundation for your retail POS system and helps your business run efficiently every day.
Step 5 Testing and Troubleshooting Common Issues with Your Cash Register
Once you’ve got your cash register set up, running test transactions is essential. This helps confirm everything—from barcode scans to payment processing—is working smoothly before customers start checking out. Here’s a quick checklist to guide your testing phase:
- Ring up some sample sales using cash, credit, and debit cards.
- Print receipts to check if the receipt printer is clear and properly aligned.
- Open and close the cash drawer to ensure it responds correctly when a transaction completes.
- Verify that tax rates and discounts apply as expected.
Troubleshooting Printer Jams and Drawer Issues
Printer jams and drawer malfunctions are common hiccups in cash register hardware setup. Here’s how to tackle these problems:
Printer jams
- Turn off and unplug your receipt printer before clearing jams.
- Gently remove trapped paper without tearing it.
- Check that you’re using the right type and size of thermal paper recommended by SDLPOS.
- Clean the printer head regularly to avoid buildup.
Cash drawer doesn’t open
- Double-check the drawer’s connection to the register or PC.
- Make sure the cash drawer cable is securely plugged in and not damaged.
- Test opening drawer manually if possible—some models have a key override.
- Confirm your POS software settings trigger the drawer to open after payment.
Handling Communication Errors and Hardware Connection Problems
Connectivity glitches between your cash register’s peripherals—barcode scanner, receipt printer, cash drawer—and your POS software can happen. To minimize downtime:
- Restart your register and connected devices.
- Inspect all cables for secure, snug connections. Replace any frayed or damaged cords.
- Update your POS software and drivers to the latest versions.
- Ensure your network (if applicable) is stable and not blocking device communication.
How SDLPOS Customer Support Can Help
SDLPOS isn’t just a hardware provider; they’re your technology partner in keeping your POS running flawlessly. If issues persist beyond basic troubleshooting:
- Reach out to SDLPOS customer support for expert advice tailored to their hardware.
- Utilize their online resources, FAQs, and user manuals for guidance.
- Leverage warranty services or replacement parts if needed.
- SDLPOS support understands small business needs in the U.S. and aims to resolve issues quickly to prevent sales losses.
By staying proactive with testing and tackling issues early, you’ll keep your cash register service reliable and your customers happy.
Tips for Maintaining Your Cash Register for Longevity
Keeping your cash register running smoothly over the long haul pays off in fewer headaches and less downtime. Follow these practical tips focused on cash register maintenance, software updates, and hardware checks to extend the life of your point of sale system.
Regular Cleaning and Maintenance
- Wipe down the exterior daily with a soft, damp cloth to prevent dust and grime buildup.
- Clean the cash drawer regularly—remove debris that can cause jams or drawer sticking.
- Keep the receipt printer free of paper dust and ink smudges by following the manufacturer’s cleaning instructions.
- Avoid using harsh chemicals that can damage buttons or display screens.
- If you use a barcode scanner, clean the scanning window carefully to maintain accurate reads.
Software Updates and Backups
- Install software updates promptly—these often include security patches and improved features.
- Schedule regular backups of your sales data and register settings to avoid data loss from power failures or system issues.
- Keep your POS software compatible with your hardware by checking update notes carefully.
- Set reminders to update during off-business hours to minimize disruptions.
Routine Hardware Checks
- Test your cash drawer opening mechanism routinely for smooth operation.
- Inspect cables and connections for wear or loose plugs—replace or secure as needed.
- Run test receipts through the printer to catch paper jams or fading ink early.
- Confirm that peripheral devices like barcode scanners and displays are communicating properly with your POS system.
- Refer to your product manual or SDLPOS support for troubleshooting key hardware issues promptly.
By following these essential cash register setup and maintenance tips, you protect your business investment and keep your checkout process efficient and reliable. For detailed advice on hardware setup or software issues, visit SDLPOS cash register systems for expert support and resources.


